Lately I have sene these everywhere! They are pretty much the new thing and I just had to try it!
I apologize for the low quality pic. I cannot for the life of me find my camera so I opted for my 2 mega pixel phone camera...
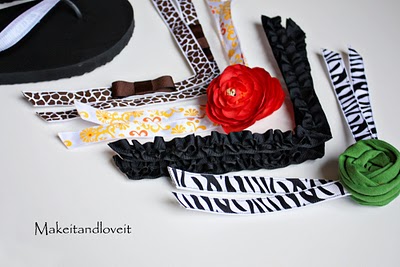
Here is what you need:
♥ 1 1/2 in. silk or satin %100 polyester ribbon (or fabric) works best
♥ coordinating colored thin hair elastic ( I use the elastic that c an be found by the beading in Wal*Mart or you can get elastics from the dollar store)
♥coordinating colored felt
♥hot glue
♥lighter ( I like using the long lighter used to light fires because the small lighters get hot fast and you can get burned fast! I know this from experience)
♥jewel or beads or button for embellishment ( I like using brads so that I don't have to hot glue every petal together)
1-Cut 4 or 5 circles out of the ribbon largest to smallest.
2-Carefully burn around the edges to give the petal affect
3-Layer them largest to smallest and use hot glue too adhere them to each other.
4-Put a little jewel in the middle of the petals
5-Cut out a small circle of felt that is about half the size of the back of the biggest petal
6-Cut the elastic to the size of the finger you want to wear it on and either hot glue or sew the elastic to the back of the flower.
7-Last glue the felt on top of the elastic to give it s snug and finishing look.
There are many way you can do steps 5-7 but that is how I like to do it. It's soo simple you can easily make it in 5 min.